
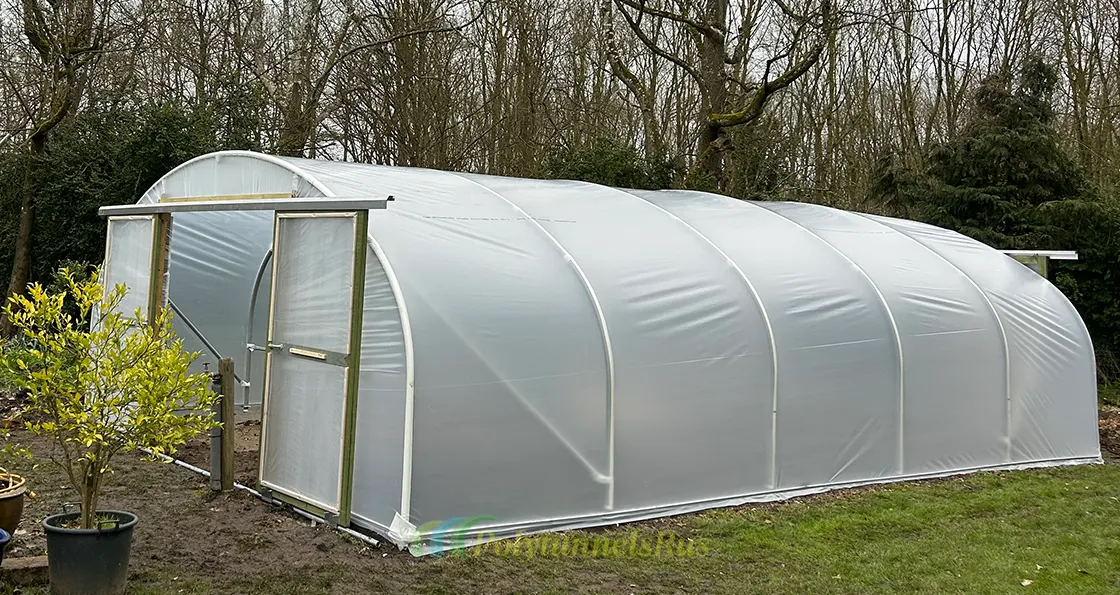
Domestic Polytunnels or a DIY Polytunnel Kit for Your Garden?
In normal supplier language, yes, domestic polytunnels mostly belong in gardens. The point is simple enough: more growing room, steadier weather protection and a longer season, without buying into a commercial tunnel installation. Still, garden buyers are not all after the same thing, and a DIY polytunnel kit is not automatically the clever idea it first appears to be.
Ask yourself how much help you want before that first sheet of polythene goes anywhere near the frame.
What does domestic really mean
Suppliers normally use domestic polytunnels for the smaller garden sizes, with fittings chosen around home growing rather than commercial use. That covers veg beds, soft fruit, seedlings, herbs, cut flowers and the little nursery corner many gardeners end up wanting. Most go over soil or raised beds. If you need machinery running through it, you are shopping in the wrong aisle.
Small is not the same as flimsy. Domestic polytunnels still face wind, rain, scorching sun and doors being used every day. Even a modest garden tunnel needs fixings you would trust on a wet, windy night.
Choose a DIY polytunnel kit if measuring, pegging out and tightening a cover feels like normal garden work to you. Some gardeners enjoy this part. Plenty of gardeners would rather plant than wrestle plastic in the wind.
Is a domestic tunnel only for home gardens?
Mostly, yes. You see most domestic polytunnels in back gardens and allotments. Smallholders use them too. Livestock, machinery and larger crop yields require stronger commercial components.
The word domestic is a useful warning label as much as a category. You are buying for home growing, not for commercial reasons. Domestic polytunnels are usually narrower and easier for one or two people to manage. Spec them well, and they can be sturdy. They still sit below commercial-grade tunnels.
Tomatoes, salad crops, chillies, early potatoes, winter greens, that is where domestic polytunnels come into their own. If you're planning tractor clearance, wide doors or long ventilation runs? You are probably in commercial territory.
Where a DIY Polytunnel Kit Makes Sense
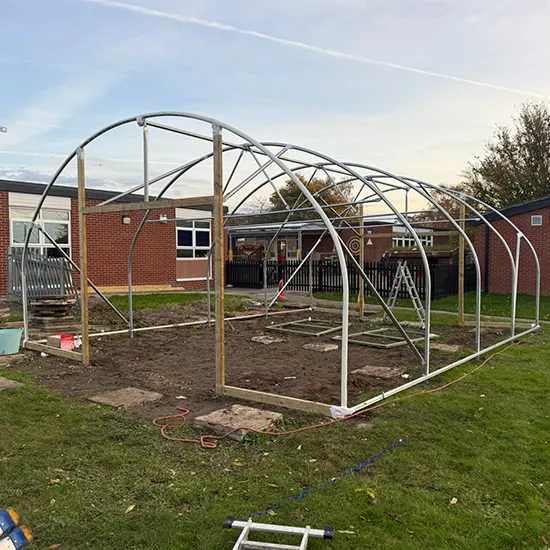
A DIY polytunnel suits the gardener who likes control and does not mind fussing over the details. Pick the site. Prepare the ground. Fit the cover when the weather gives you a calm window. Built with care, that DIY polytunnel can be a very sensible buy.
The best DIY polytunnel projects start with careful planning. Is the site level? Is it exposed? Have you got another pair of hands to help fit the cover? It is not difficult work. It is patient work.
With smaller domestic polytunnels, a careful DIY build can do the job nicely. It can also keep the project affordable, provided the kit includes the right parts from the start. Check frame diameter, cover grade, doors and fixing method before you compare prices.
Where a supplied domestic tunnel is better
Buying from a supplier who can advise often saves time and mistakes. Domestic polytunnels are simple in principle, but small choices change how they perform. Ventilation, door size, cover thickness and anchoring all affect daily use.
This is where a DIY polytunnel can catch people out. A basic kit may look fine online, but it may feel flimsy once it faces a windy garden. Another kit may be solid, but difficult to extend or recover later. The lowest upfront price is not always the best value.
A good supplier should help you choose domestic polytunnels around your garden, not around a generic size chart. Sheltered town garden? Different answer. Open rural plot? Different again. Tomatoes and cucumbers on the plan? Ventilation matters.
Compare the real buying factors
Start with size. Domestic polytunnels need enough room for beds, paths and working space. A narrow tunnel becomes annoying fast, especially once plants are full. Bigger is not always better, but cramped tunnels rarely stay enjoyable.
Then look at the cover. A DIY polytunnel with a thin polythene cover may get you started, but it may not cope with abrasion, UV and bad weather. A better cover costs more because it usually lasts longer. Basic garden economics.
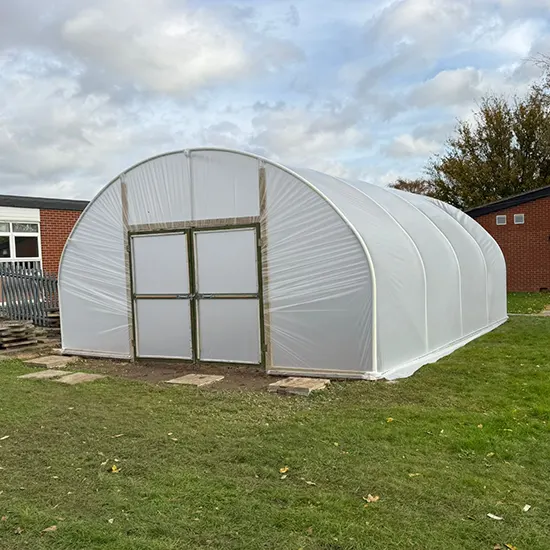
Next, think about access. Domestic polytunnels with decent doors are easier to ventilate, wheelbarrow into and work in. Poor access turns watering, harvesting and clearing crops into a nuisance. Planning raised beds? Measure the door width before you buy.
Finally, look at aftercare. Can you buy spare covers, tape, clips and doors later? A DIY polytunnel should have a repair route, not turn into a one-season puzzle when the cover wears.
So which should you buy?
If you like hands-on jobs, have level ground and want to watch the budget, a DIY polytunnel is a fair route. Slow down, choose the right specification and take anchoring seriously. Most problems come from rushing the setup.
If you want advice, easier specification and fewer unknowns, look at the supplied domestic polytunnels from a specialist. You are not paying only for metal and plastic. You are paying for parts that should work together and the knowledge they provide.
There is no shame in either route. A DIY polytunnel can suit a confident gardener perfectly. Domestic polytunnels from a supplier suit someone who wants a cleaner buying decision. Your site, your patience and the lifespan you expect should decide it.
A practical recommendation
In a small sheltered garden, a well-specified DIY polytunnel is often all you need. For an exposed garden, a bigger growing plan or long-term setup, domestic polytunnels with proper supplier guidance are usually stronger and safer.
Do not buy only based on size and price. Buy on frame strength, cover quality, anchoring, ventilation, repair options and how easy the tunnel will be to use in bad weather. Domestic polytunnels are mainly for residential gardens, yes. The real decision is whether you want a garden-growing structure you assemble yourself, or a better supported route into protected growing. Choose the one that suits your plans.
Recent Blogs
-
 04 Jul 2026
 -
 19 Jun 2026
 -
 06 Aug 2025